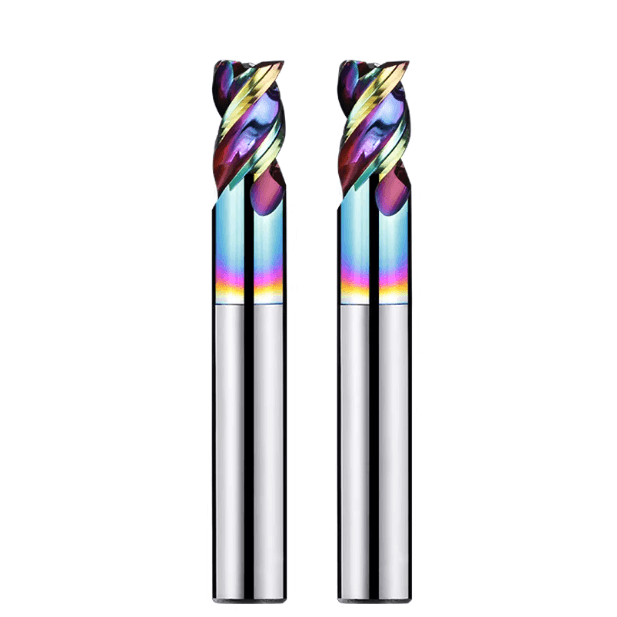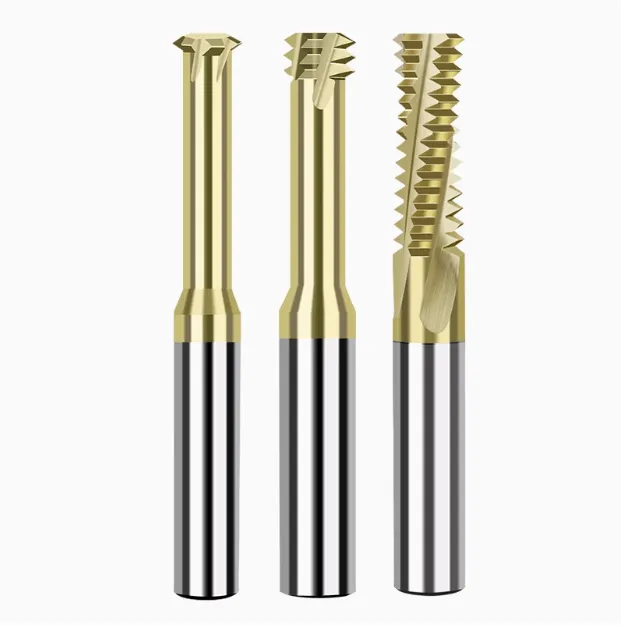
In CNC machining, the wear of end mills directly affects the machining quality and production efficiency. The causes of wear failure of milling cutters include wear of the front edge, rear edge and tool boundary, and each wear mode has a specific formation mechanism. Wear phenomena involve multiple aspects such as mechanical contact, physics, diffusion and chemistry, and also include sudden plastic breakage and brittle breakage. Milling cutter wear can be divided into initial wear, normal wear and sharp wear stages, and it is crucial to judge the tool life according to the blunting standard. Although there are many methods for estimating tool life, the judgment method that accurately reflects the actual wear condition is still to be developed to achieve tool cost optimization and improve production efficiency.
The Wear Site of the Tool
Wear of the front edge and tip of the milling cutter. When milling plastic materials at high speed, the high heat formed in the plastic material will cause the crescent wear phenomenon to form on the front edge of the milling cutter. The high heat zone generated by the contact wear surface is most likely to occur and spread around. When the crescent on the milling cutter develops to the edge of the tool, the hardness of the blade decreases significantly, resulting in breakage. At present, KT represents the maximum depth of the crescent wear phenomenon occurring on the front edge.
Wear on the back edge. When CNC milling a workpiece, the transition surface of the workpiece contacts the back of the tool, and the contact stress changes suddenly, from a large cutting stress to a very small cutting transition zone. The strain generated on the back edge is large, forming wear on the back edge of the tool. The wear edge band on the back edge is less uniform, and there are large trends and fluctuations.
Simultaneous wear or boundary wear on the front and back edges of the milling cutter. The simultaneous wear of the front and back edges of the milling cutter mainly occurs when cutting plastic roughness. This phenomenon will occur when its hD=0.1~0.5mm; the so-called wear or boundary wear refers to the fact that when cutting workpieces with poor surface roughness such as cast steel parts with higher hardness, blank forgings, etc., deeper grooves are often worn on the main and secondary cutting edges. There are two reasons for boundary wear:
- During CNC milling, the stress of the main cutting edge and the workpiece contact cutting edge is not equal, and the stress fluctuates greatly, which causes great strain on the tool. At the same time, a higher cutting temperature accumulates at the front edge, while other cutting parts are well cooled, resulting in a high temperature gradient and excessive cutting stress, which causes boundary wear on the main back edge.
- Under the action of work hardening, the secondary cutting edge becomes thinner to zero, causing the front edge to slip, and boundary wear is reflected on the secondary back edge.

Typical Causes of Milling Cutter Wear
Mechanical contact wear effect-hard point wear. Carbides, nitrides, oxides formed in the surface of the blank and hardened materials or hardening phenomena formed by work hardening, built-up edge, etc. scratch the surface of the milling cutter cutting part, forming a series of wear grooves called hard point wear, which is the main cause of low-speed milling tool wear.
Physical wear effect-adhesive wear. Under high pressure and high temperature, the atoms and crystals of materials with lower hardness, such as blanks, adhere to the milling cutter. When there are defects such as voids and local soft spots inside the milling cutter material, the tool material at the bonding point is eventually torn. The affinity between the tool and the blank material, cutting temperature, hardness ratio, tool surface shape and other factors are the main factors that determine bonding wear.
Diffusion wear. Due to the high cutting speed of CNC milling, it is often accompanied by higher temperatures, and higher temperatures will lead to chemical instability of various materials, such as chemical reactions between different materials inside the milling cutter and chemical reactions between different materials at the contact between the blank and the milling cutter.
Chemical wear. The so-called chemical wear is mainly caused by the fact that under high temperature conditions of milling, oxygen, cutting fluid, etc. are easy to react chemically with the tool material, resulting in a decrease in tool hardness and accelerated tool wear. This phenomenon is called chemical damage.

Sudden Damage of Milling Cutters
Plastic Damage of End Mills
- Edge curling. Edge curling is a sudden damage form that is easy to occur in high-hardness tools such as high-speed tool steel during fine processing.
- Blade bulge. When milling cutters made of tool steel, high-speed tool steel and other materials are processing hard materials or when the cutting amount is too large, a sudden bulge will occur between the front and rear cutting parts.
Brittle Damage of End Mills
- Due to manufacturing defects such as internal microcracks, carbide milling cutters may knock off a small piece of the blade under intermittent cutting conditions of CNC milling, which does not affect the continued processing. This phenomenon is called edge chipping. Although this phenomenon will not interrupt the processing in the short term, it will cause the surface quality of the processing to deteriorate sharply.
- Breakage is a sudden breakage phenomenon that occurs at the tip or main cutting edge of the CNC milling cutter. The milling cutter cannot be reground after this happens.

Tool Wear Stages and Blunting Standards
Tool Wear Stages
Initial wear stage. Mainly caused by internal defects of the new tool, the blade is sharper, the contact surface with the blank is small, and the stress is more concentrated at the tip of the tool, resulting in faster wear of the tip of the tool.
Normal wear stage. During this stage, since the tool has gone through the running-in period, the tool tip has been smoothed, the contact between the tool and the blank is relatively uniform, and the force per unit area is small, so the wear is slow, which is the main life of the tool for effective processing.
Rapid wear stage. The tool wear accumulates over time, accompanied by a rapid increase in cutting force and cutting temperature, and the tool wear suddenly increases and is accompanied by noise and other phenomena
Tool Blunting Standard
After the tool is worn, it will inevitably affect the processing effect, such as workpiece scrapping, surface roughness reduction, and size and shape accuracy reduction. Therefore, it is necessary to specify a maximum allowable wear amount of the milling cutter according to the iron cutting processing conditions, which is the blunting standard. The blunting standard can be adjusted according to different processing occasions such as rough and fine processing.
At present, the above two methods of tool life can only describe the tool life from an economic perspective or from a productivity perspective and combined with experience, but do not correctly monitor the tool life from the actual tool wear conditions. Therefore, under the premise of maximizing tool cost savings and ensuring productivity, it is inevitable to develop a method that can correctly judge the tool life based on the actual tool wear.


